Tunisian knit stitch
Before introducing the tunisian knit stitch in crochet I need to explain a little about Tunisian crochet which is also known as Afghan crochet. It is a very particular technique of crochet as it incorporates knitting techniques. However, as I always say, it's not something very difficult. With a little training and a lot of willingness to learn, anyone can make a piece using this technique, and I guarantee you'll feel a lot of pleasure because everything that involves a challenge is more enjoyable to see accomplished.
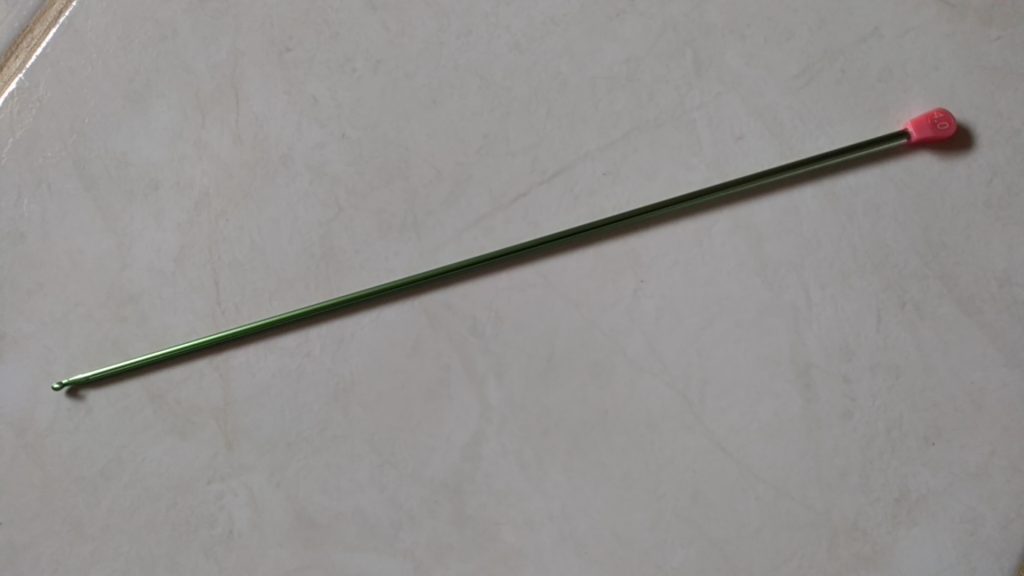
Afghan Crochet Hook
The hook used in Tunisian crochet is also different. It is longer and has one end like a crochet hook and the other end is closed so the stitches don't slip off the hook.

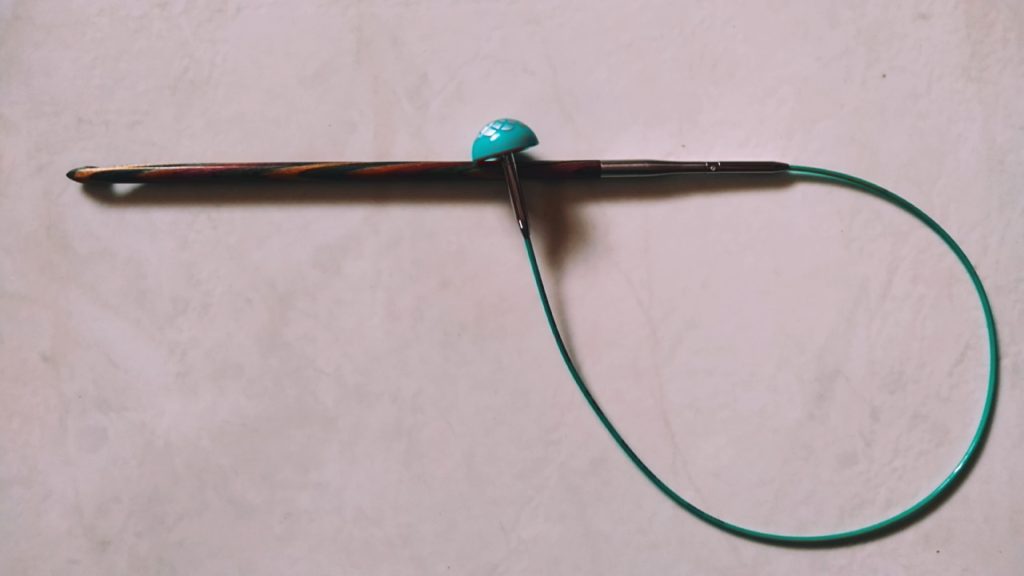
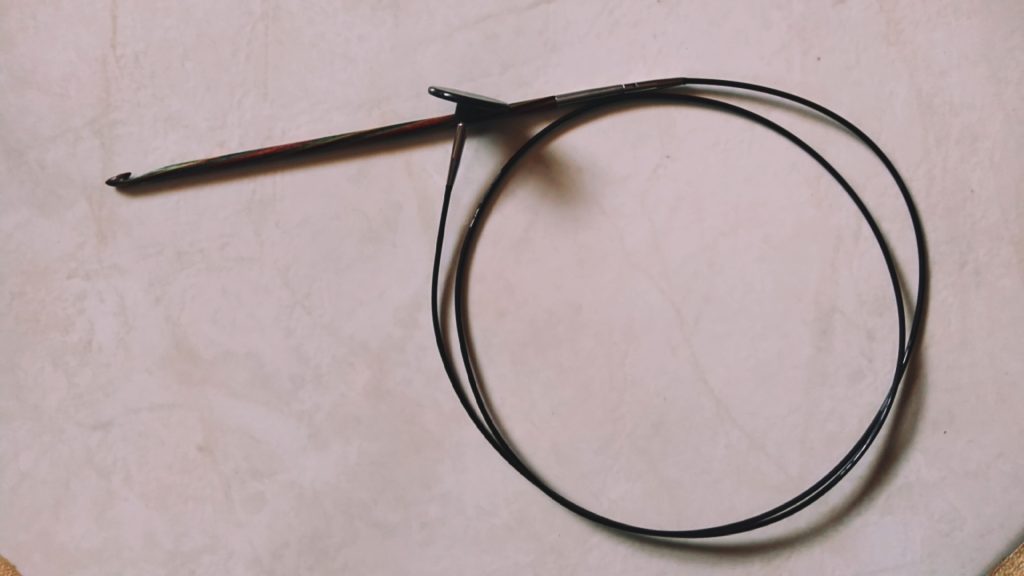
Interchangeable Afghan/Tunisian Crochet Hook
There are also shorter hooks with a flexible cord as an extension. I particularly prefer these hooks and even better if the handle is interchangeable, so I can have several handles with different lengths and change them according to the size of the piece I'm making. It is also possible to connect two hooks of the same number to the same cable and work in a circle.


The technique
In Tunisian crochet the stitches are loaded on the forward pass and are all on the hook, then on the return pass the stitches are unloaded (closed). So, to make a row you need to make the forward and return pass. The work is always performed on the same side and the pieces tend to have a firmer and less elastic weft. In pieces where elasticity is desirable, attention should be paid to the choice of yarn and the tension applied to the stitch.
Tunisian knit stitch
In this article I will present the Tunisian knit stitch that has that name because the result is the same as the knit stitch in knitting. The result is very beautiful and the edges of the piece are perfect.
Execution:
1 - Chain any number of stitches.
2 – Pull up a loop in the second chain from the hook and in each chain until the end. This is the forward pass where the stitches are loaded onto the hook.
3 – On the return pass, yarn over, and pull through one loop to create the edge stitch, then * yarn over and pull through two loops, repeat from * until 1 loop remains on the hook. This loop counts as the first loop for the next forward pass.
4 – On the second forward pass, start inserting the hook between the two vertical bars of the second stitch (right in the middle of the stitch) and pull up a loop, repeat this until the penultimate stitch, in the last stitch insert the hook through both parts of the “V” ” of that point.
5 – On the second return pass repeat the same procedure described in step 3.
Now just repeat steps 4 and 5 until you reach the length of your piece.
Watch a short video showing how to run:


