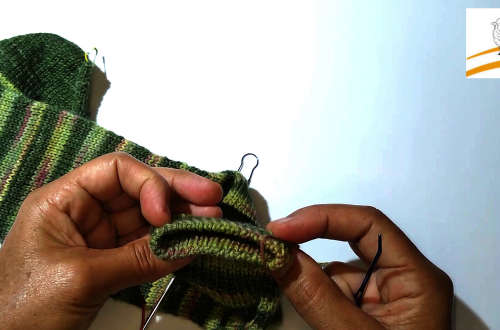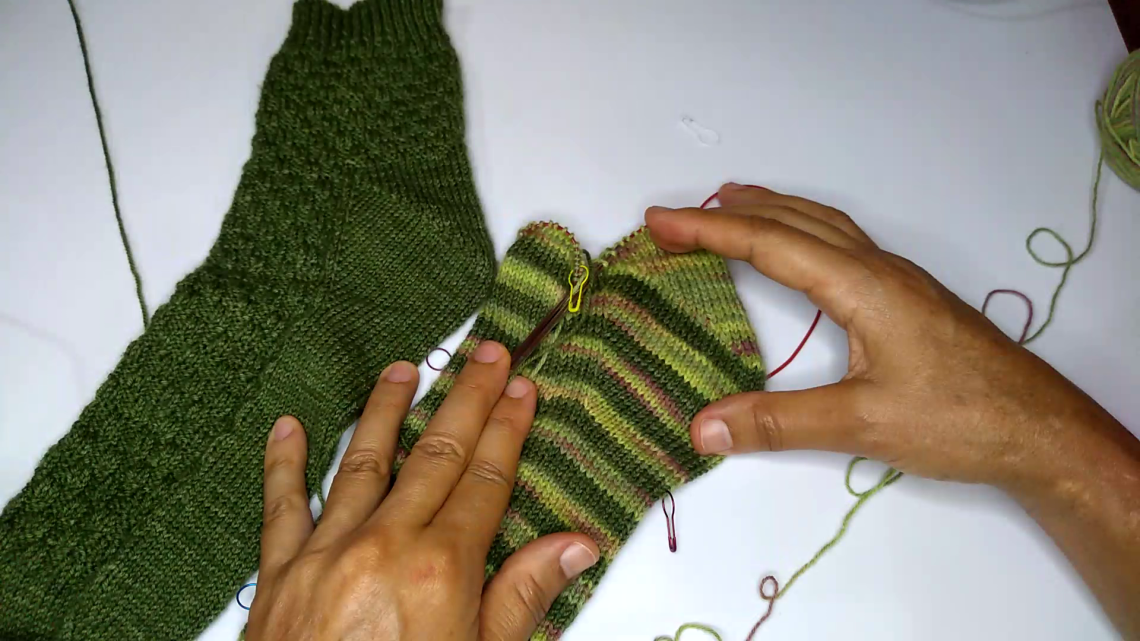
Fleegle heel: How to turn heel...Knitting socks.
Knitting socks can be an adventure, especially when it comes to shaping the heel and the most tense part is precisely the heel turn. There are several techniques for knitting the heel of a sock, each with its pros and cons, but today I'm going to talk about one that is very little remembered or shared. I'm talking about the Fleegle heel: a technique created by blogger Fleegle in 2006
According to its creator, it's a sock pattern without flaps and without complications, and I would add without holes, because the fact that some techniques leave holes has always bothered me a lot.
I won't go into the personal considerations of myself or others: "each one, each one". I'll just describe the technique and let everyone draw their own conclusions. I'll just add this: Believe me, it's worth learning this technique, first because it's always good to learn something new, and second because you'll be surprised at how easy it is to do.
Here's the general rule:
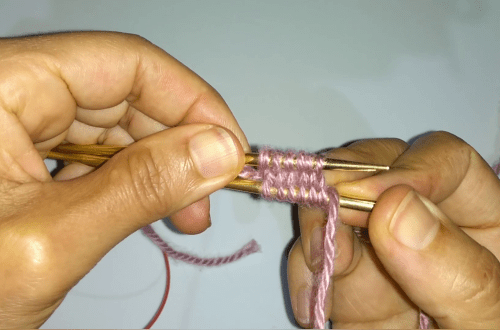
Start the sock from the toe using your preferred cast on method. See the tutorials for some methods: Judy’s magic cast on or Turkish cast-on.
Continue to knit until there is about 7 to 8 cm left to the heel and then knit the heel increases.
How to Turn heel
- Place a marker in the middle of the heel needle dividing the stitches into two equal halves.
- Row 1: K to 2 stitches after marker, SSK, K1, turn work.
- Row 2: Slip 1 purlwise, P to marker, remove marker, P2, P2tog, P1, turn.
- Row 3: slip 1, K to 1 stitch before the gap, SSK, K1, turn.
- Row 4: slip 1, P until 1 stitch before the gap, P2tog, P1, turn.
- Repeat rows 3 and 4 until the last stitch on the needle is K1 after the last SSK.
- Resume working in a circular pattern. At this stage the heel needle still has 3 stitches more than the instep needle.
- Round 1:
- needle 1: K
- needle 2: K1, K2tog, K to end.
- Round 2:
- needle 1: K
- needle 2: K1, SSK, K until there are 3 stitches left on the needle, K2tog, K1.
That's it, the heel turn is done! Easy, right?
Watch the video below to see how it's done in practice. Keep in mind that my videos are short and to the point, and following the pattern I've adopted, they have no audio or other distractions, but they are very descriptive.
Check out the video where I show this step-by-step.


