Crocodile Stitch in Crochet
The crocodile stitch is an intermediate-level crochet stitch that creates three-dimensional scales, perfect for shawls, blankets, and decorative projects. Let's learn it step by step in a very simple way!
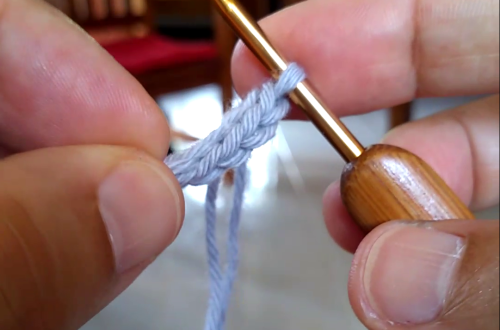
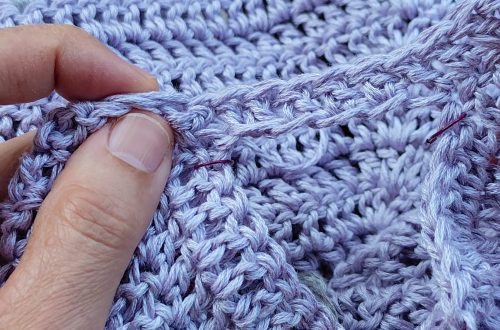
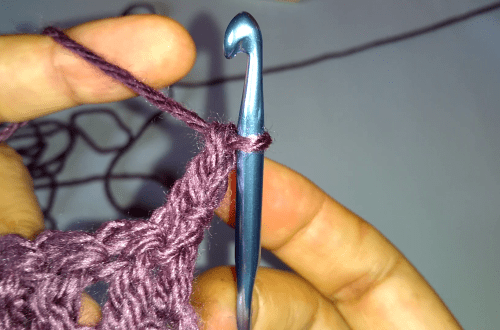
The following sequence of photos illustrates the main steps taken at the beginning. The tutorial below describes each step in detail and how to continue in subsequent rows.
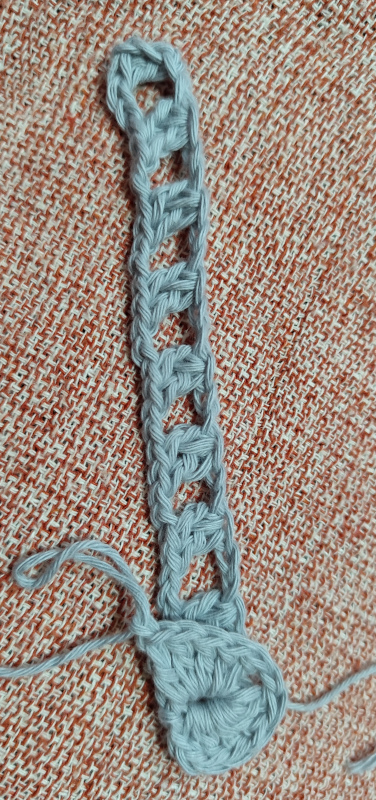
Preparing the Base
Foundation: Multiple of 6 + 3 stitches
Example: Make 27 chains
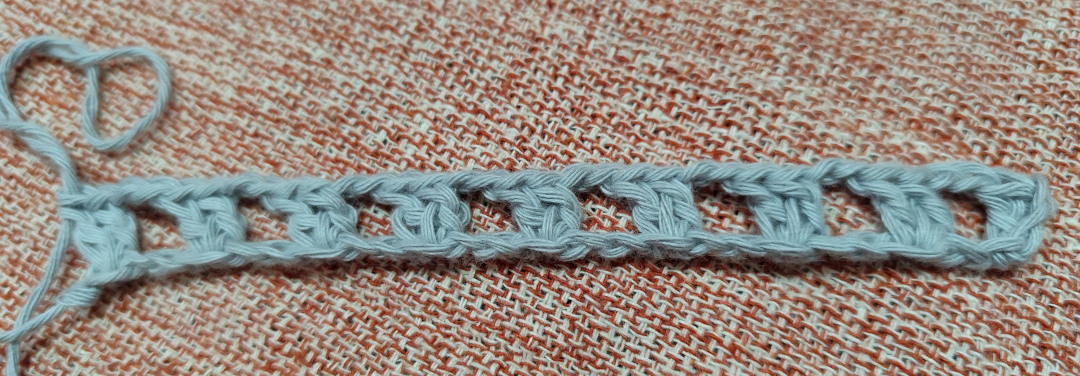
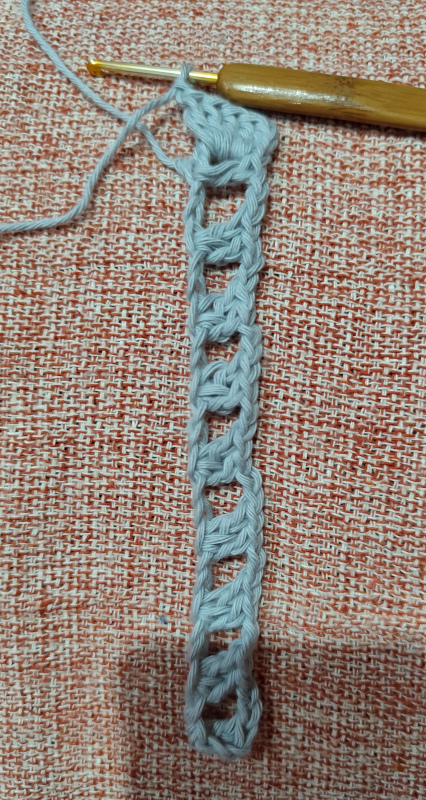
Row 1 - Creating the Structure
First Part:
- Turn your work and make a DC (double crochet) in the third chain
- Chain 2
- Repeat the following pattern:
- Skip 2 stitches
- Make 2 double crochets in the same stitch
- Chain 2
- Continue repeating until the end of the row
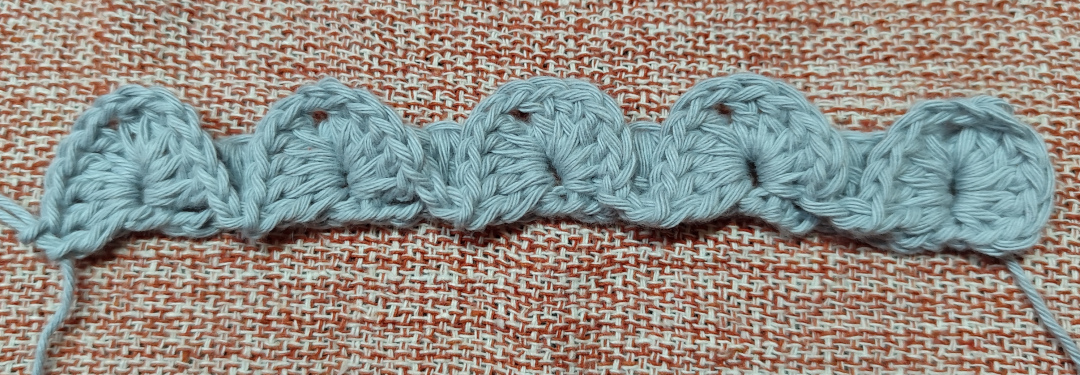
Second Part - Making the First Scales:
Now we'll work on the sides of the double crochets to create the scales!
- Turn your work 90° to the right (clockwise) to make the first scale on the last pair of double crochets
- Work on the side of the double crochet:
- Chain 3 (or a false double crochet) + 4 double crochets + chain 1
- Turn another 180° to the right
- Work on the side of the next double crochet:
- 5 double crochets + chain 2
- Turn your work 180° to the left (counterclockwise)
- Skip one pair of double crochets
Repeat from step 2 to 6 until the last pair of double crochets and turn your work.
Row 2 - Structure Between Scales
First Part:
- Chain 3 up from the stitch where you finished the previous row
- Make 1 DC in the center of the first scale + chain 2
- Make 2 double crochets in the middle of the first DC pair (between this scale and the next) + chain 2
- Make 2 DCs in the center of the next scale + chain 2
- Make 2 double crochets in the middle of the next DC pair (between this scale and the next) + chain 2
Repeat steps 4 and 5 until the end of the row.
Finish with 1 double crochet in the center of the last scale and 1 DC in the last stitch.
Second Part - New Scales:
- Turn your work
- Skip two stitches
- Make a scale on the first DC pair (remember to turn your work to the right and left as done in the second part of the first row)
- Chain 2
- Continue repeating steps 2 to 4 until the end of the row
- Finish with 1 sl st (slip stitch) in the last stitch
Row 3 - Repeating the Pattern
First Part:
- Chain 3 + 1 double crochet in the same stitch + chain 2
- Repetitions:
- Make 2 DCs in the center of the next scale
- Chain 2
- Make 2 DCs between two scales
- Finish with 2 double crochets
Second Part:
Repeat exactly the same process as Row 1 - Second Part to make the scales.
Finishing
To continue your project:
- Alternate between Rows 2 and 3
- Repeat until you reach the desired size
- The scales will form naturally, creating the three-dimensional effect
Important Tips
- Keep uniform tension for well-defined scales
- Always count stitches to not lose the pattern
- Scales look better when you gently pull them down after each one
- Practice first on a small sample before your final project
Now you're ready to create beautiful pieces with the crocodile stitch!
Check out the video where I show this step-by-step.
See other tutorials here:

You May Also Like
Separating the sleeves on a crochet blouse with a double crochet instead of chains.
Fake double crochet